
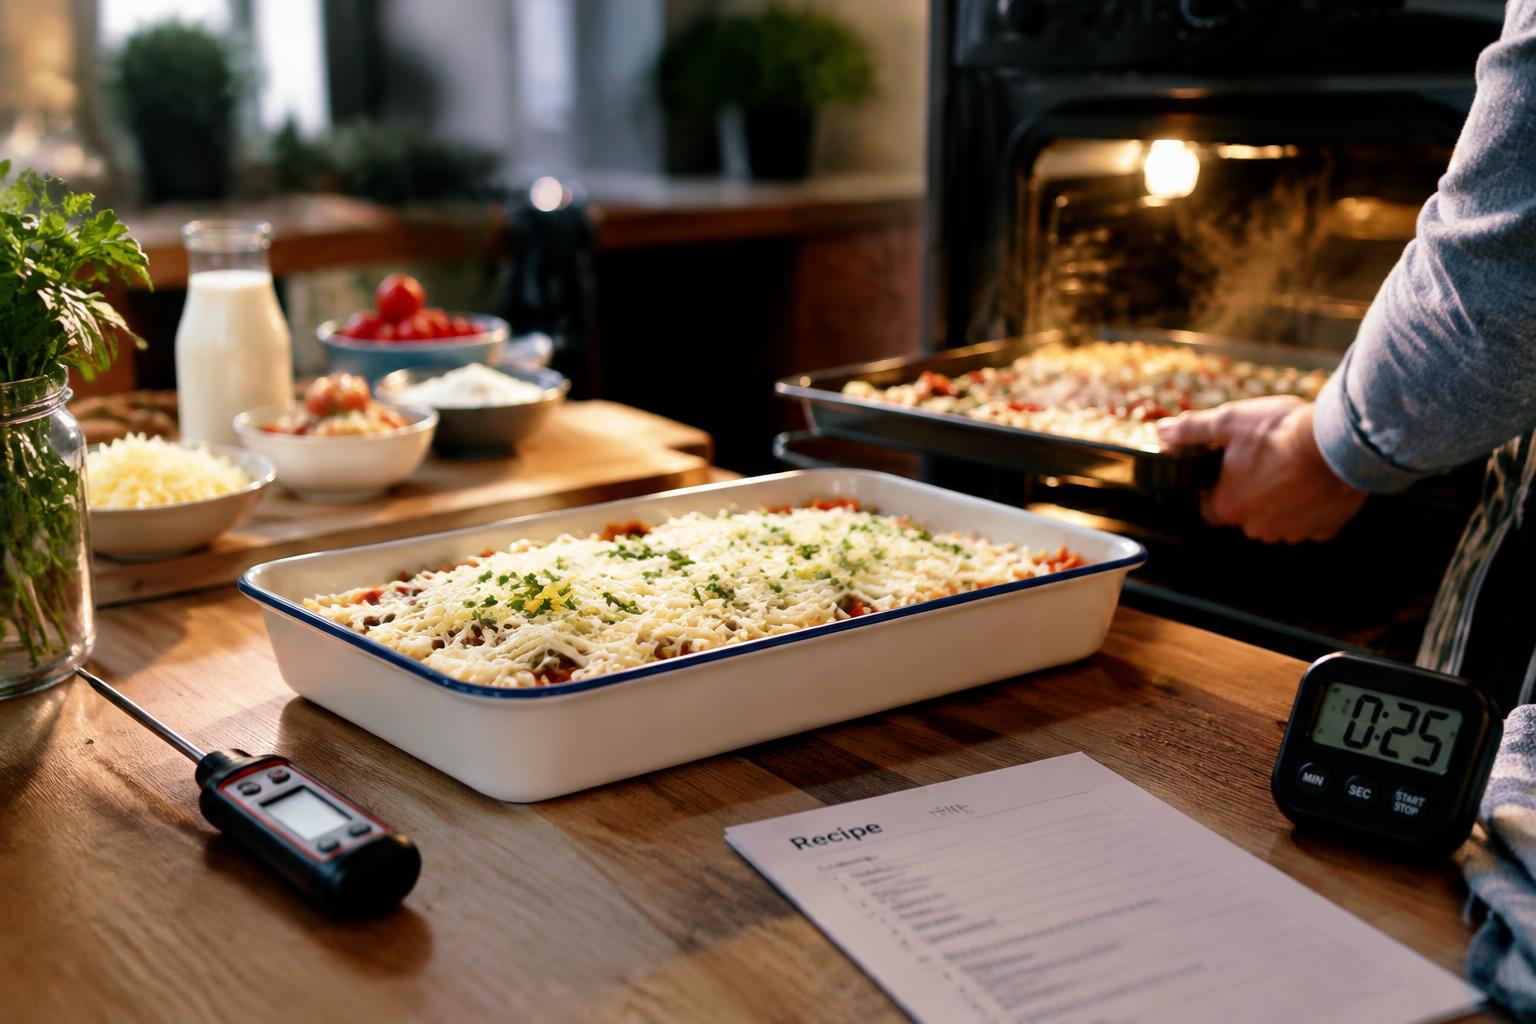
Cold ingredients start cooking below the temperature a recipe typically assumes, so a chilled chicken breast or refrigerator-cold casserole takes longer to heat through than one at room temperature. Rather than adding a fixed number of minutes, use an instant-read thermometer and watch for safe internal temperatures; extended oven time can dry out edges before the center is done.
Key Takeaways:
- Cold ingredients absorb heat before cooking begins, so food often takes longer to reach the recipe’s intended doneness, especially in the center.
- Use the recipe’s cooking time as a starting point, then judge doneness with an instant-read thermometer or the recipe’s visual and texture cues rather than adding a fixed number of minutes.
- Ingredient temperature matters most in dishes with thick or dense components, such as a chilled casserole or a large cut of meat; smaller pieces and thin batters warm more quickly.
How Cold Ingredients Change Cooking Time
Starting temperature changes how quickly heat moves from an oven, pan, or hot liquid into food. A refrigerated ingredient must absorb more heat before its center reaches the same temperature as an ingredient that has been sitting at room temperature. That extra energy affects the pace of cooking, while the food’s size, shape, and cooking method determine how strongly the difference shows. Heat transfer begins at the surface, then progresses inward through the ingredient.
How ingredient temperature affects heating and baking
Cold ingredients create a steeper temperature difference between the food and its cooking environment, but their centers still take time to warm. In a saucepan, chilled broth briefly lowers the liquid’s temperature; in a cake batter, cold eggs and butter can slow the oven’s early heat transfer and affect how evenly the mixture bakes. Dense foods heat from the outside inward, so the center of a cold casserole lags behind its surface.
Why recipe timing may no longer be reliable
Recipe times assume ingredients begin near the temperature used during testing, so refrigeration changes the starting conditions. A timer measures elapsed cooking time, not the temperature at the center of the food, and the oven thermostat cannot account for a colder filling or thicker mixture. Use timing as an estimate when those conditions differ; a chilled pie filling, for example, can remain cool in the center after its crust has browned.
| Starting condition | Heat-transfer effect | What changes |
|---|---|---|
| Room-temperature ingredient | Less warming needed | Cooking begins closer to recipe assumptions |
| Refrigerated liquid | Absorbs heat from the pan or pot | Heating or simmering starts more slowly |
| Cold, dense filling | Center warms after the surface | Interior cooking can lag behind browning |
How to Adjust Cooking Time by Ingredient
Different ingredients respond to chill in different ways, so a single time adjustment rarely suits an entire dish. A dense cut of meat warms more slowly at its center than a thin vegetable, while cold dairy can delay a sauce from thickening. Make changes according to each ingredient’s size and starting temperature, and adjust the cooking sequence when components need different amounts of time. A chilled stew mix, for instance, may need extra time after it returns to a simmer.
Meat, poultry, and seafood
For thick cuts of meat, add cooking time in short increments rather than extending the recipe by a fixed percentage; a cold roast warms more slowly through its center than a thin chop. Arrange poultry pieces in a single layer so they heat evenly, and allow a chilled whole bird more time than a room-temperature one. Seafood needs smaller adjustments: cold fillets or shrimp may take a little longer, but their delicate texture changes quickly near the end of cooking.
Eggs, dairy, and vegetables
Cold eggs take longer to set in a custard or bake, so expect a slower rise in temperature than the recipe’s timing suggests. Chilled milk, cream, or yogurt also cools a pan when added; warm it gently first if the recipe depends on a smooth sauce or steady simmer. Dense vegetables, such as potatoes and carrots, need more time than tender greens. Cut cold vegetables into similar-sized pieces to keep the batch’s cooking time consistent.
- Cut meat into evenly sized portions.
- Separate frozen clumps of vegetables before cooking.
- Add chilled dairy gradually to hot mixtures.
Factors That Affect the Adjustment
The added time depends on how quickly heat reaches the coldest part of the food and how evenly it moves through the cooking setup. A chilled ingredient in a crowded pan behaves differently from a single, thin piece, even at the same starting temperature. The recipe’s intended result matters too: a roast needs adequate heat at its center, while sautéed vegetables depend on surface contact. These differences determine whether extra time is modest or substantial.
Ingredient size, shape, and quantity
Thick or irregular pieces take longer to warm through than thin, evenly cut portions because heat must travel farther to reach their centers. A whole chicken breast straight from the refrigerator, for example, cooks less evenly than a thin cutlet. Batch size matters as well: adding a large quantity of cold food to a skillet lowers its surface temperature, especially if the pieces are crowded. Frozen centers or dense ingredients such as potatoes increase the time further.
Cooking method, pan, and oven temperature
Oven roasting transfers heat gradually, so a cold casserole or crowded roasting pan can extend cooking more than a thin piece placed in a hot skillet. A heavy cast-iron pan retains heat well, while a lightweight pan loses temperature faster when you add chilled ingredients. Starting temperature matters too: a fully preheated oven recovers differently from one still warming, and a low oven provides less heat to offset a cold dish than a high-temperature setting.
| Factor | Typical effect | Example |
|---|---|---|
| Thickness | Slower heating at the center | Whole chicken breast versus cutlet |
| Quantity and spacing | Greater temperature drop and uneven heating | Crowded skillet of chilled vegetables |
| Pan material | Changes heat retention after food is added | Cast iron versus lightweight metal |
| Cooking method and temperature | Sets the rate and pattern of heat transfer | Low-temperature roasting versus hot sautéing |
Tips for Checking Doneness and Avoiding Overcooking
As colder ingredients shift the timing, let the food’s condition guide your next step rather than treating the recipe’s clock as a guarantee. Match your check to the dish: a thermometer suits thick cuts and casseroles, while a skewer or gentle press can reveal texture in baked goods. Keep the oven door closed between checks, and use clear doneness cues so extra cooking stops as soon as the center is ready.
Use internal temperature and visual cues
For meat, poultry, fish, and egg dishes, insert a clean instant-read thermometer into the thickest area, avoiding bone and the pan. Follow a food-safe target temperature for the specific food, since browning alone does not confirm safety. Pair the reading with visible signs: fish should turn opaque and flake, while a custard should set at the edges with a slight wobble in the center. Clean the probe between readings.
Check early, then adjust in small increments
Begin checking before the recipe’s stated finish time, especially when a chilled center has made the cooking progress less predictable. Open the oven briefly, test one representative piece, then return the dish to heat if needed. Add short cooking intervals rather than extending the full remaining time at once; thin foods can pass from done to dry quickly. For a casserole, take a fresh center reading after each interval.
- Use a probe thermometer with a clean, intact tip.
- Measure away from bones, cookware, and large pockets of fat.
- Keep the dish level while testing to avoid spills.
How to Prevent Timing Problems Before Cooking
Before heating the oven or pan, bring ingredients toward the temperature assumed by the recipe, while keeping perishable foods within safe handling limits. Check labels and recipe instructions for whether an ingredient should be chilled, softened, or thawed; a pie crust, for example, often needs to stay cold even when other components warm slightly. Plan for safe temperatures rather than leaving ingredients on the counter indefinitely, and gather a food thermometer and separate trays before prep begins.
| Ingredient | Preparation step | Temperature guidance |
|---|---|---|
| Frozen meat or poultry | Thaw in the refrigerator | Keep at or below 40°F (4°C) |
| Eggs for baking | Warm briefly in a bowl of lukewarm water | Use promptly after tempering |
| Butter for creaming | Cut into smaller pieces and let soften | Soft, but not oily or melted |
Thaw and temper ingredients safely
Frozen meat, poultry, and seafood belong in the refrigerator, where they thaw gradually without spending extended time at room temperature. For quicker thawing, seal the food in a leakproof bag and submerge it in cold water, changing the water regularly; cook it promptly once thawed. Never thaw perishable food on the counter, where the surface can warm while the center remains frozen. To temper eggs for baking, place them in lukewarm water for a few minutes.
Organize prep around cooking time
Start with ingredients that need the longest safe preparation, such as refrigerator-thawing a roast, then measure dry ingredients and prepare equipment while it chills. Set butter out only when the recipe calls for softened butter, and keep pastry dough refrigerated until you are ready to roll it. Use separate prep times for ingredients with different temperature needs; a cake’s butter can soften on the counter while its eggs warm in lukewarm water.
Final Words
Cold ingredients change how quickly heat reaches the center of a dish, so treat the recipe’s timing as a guide rather than a guarantee. Add cooking time in short increments, keep the oven temperature steady, and judge doneness with a thermometer or the recipe’s specified visual cues. For a casserole, probe the center; for chicken, measure the thickest part without touching bone. Record the adjustment that worked for your pan, portion size, and starting temperature.
FAQ
How much extra cooking time do cold ingredients need?
Cold ingredients may need a few extra minutes, but there is no reliable universal adjustment. The added time depends on the ingredient’s size, starting temperature, quantity, and cooking method, so check for doneness rather than relying on a fixed percentage.
Can I cook meat straight from the fridge if I adjust the time?
Yes, meat can generally be cooked straight from the fridge if you allow for a longer cooking time and verify it is safely cooked. Thickness and shape affect how quickly the center heats, so use a food thermometer in the thickest part rather than judging by surface color alone.
Is it safe to leave cold ingredients out to warm up before cooking?
Some ingredients can be left out briefly to lose their chill, but perishable foods should not sit at room temperature for extended periods. The safe time depends on the food and room conditions, so refrigerate meat, seafood, dairy, and eggs until needed, and thaw them safely rather than on the counter.
What is the biggest mistake when cooking ingredients colder than expected?
The biggest mistake is adding a fixed amount of time without checking whether the food is done. Cold ingredients can heat unevenly, and a larger or thicker piece may need more time than a smaller one; check early, then continue cooking in short intervals as needed.
Can I use another doneness check if I do not have a food thermometer?
Visual and texture cues can help assess doneness, but they are less reliable than a food thermometer for meat, poultry, and seafood. If you lack a thermometer, follow trusted guidance for the specific food and cooking method, and do not assume that browned surfaces mean the center is safely cooked.